Ha, get it? Die-ing & DIYing?!
Anywaysss, Halloween is like a week away and it's time to get your inner spook-on with these amazing DIYs! So, grab your pumpkins, studs, paint & get ready for your Halloween world to be blown!
.jpg) |
| SOHO Style Studded Pumpkins |
1. Studded Pumpkins
Um...whoever came up with this one deserves an award! No carving & totally freaky chic? Yes, please!
.jpg) |
| Your Studded Pumpkin Supplies |
What you'll need:
- Pumpkin - whatever size, color & shape that's going to float your boat! We grabbed a Pie Pumpkin & mini Pumpkins from Target.
- Paint - we wanted to keep it chic with black & white (hello, French Twist pumpkin inspo!)
- Studs - channel your inner punk girl & get spikes, stars or the OG studs. We grabbed one of everything!
- Paint Brushes
 |
| Paint your pumpkins first |
.jpg) |
| Make sure your pumpkin dries completely before you stud! |
1. Paint your pumpkin
Get creative - paint it all one color or make it funky fresh with stripes like we did! After you've put your first coat on, wait for it to dry & go back for any touchups you might need. Be sure the paint is all dry before studding though!
 |
| These grommet studs work the best! If you get any other studs, grab some glue so they'll stick! |
 |
| Stud your pumpkins however you want! Mix up the patterns, studs & colors for a cool look |
2. Get your stud on
Once the paint has dried & you've taken care of any touch ups, grab your studs! Put them in a shape, pattern or randomly dot your pumpkin with studs! We did a little bit of everything!
 |
| Go crazy with your paints & studs! |
3. Whoa that's a chic pumpkin!
Um, that's what all your friends are going to be saying when your pumpkins are done! Throw em on your porch, use them as a centerpiece or keep em at your desk for a festive vibe. We love using the small pumpkin as a paper weight or a book end!
 |
| Candy Corn inspired Clean Up Your Act Brush Cube |
2. Candy Corn Brush Cubes
We stumbled upon this Candy Corn Jar DIY using mason jars on Pinterest (um, yes...we are pinaholics) but took it to a whole 'nother SOHO level by getting our Clean Up Your Act Brush Cubes involved. Creative...we know!
 |
| Your Candy Corn Brush Cube Supplies... |
What You'll Need:
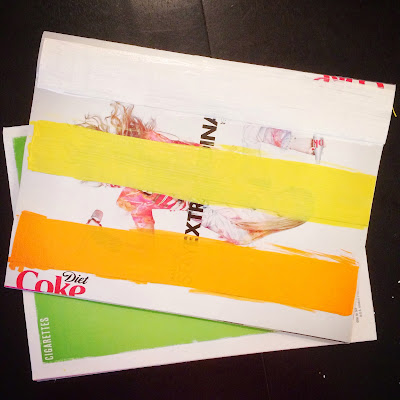
1. Measure & cut 3 pieces of tape to wrap around the brush cube - ours were 10.4". You could totally paint directly on your cubes if you'd like but we're going for a temp festive look instead of a permanent one :)
 |
| Paint each piece of tape |
 |
| Let those pieces completely dry before you touch them! |
2. Paint each piece of tape - 1 white, 1 yellow & 1 orange & let them dry. We found that putting the tape on a magazine to paint was easiest but you can paint on any service you'd like!
 |
| Wrap & smooth the tape around the cube. If you need to touch up, no worries - you can do that once the tape is on the cube :) |
3. Wrap your dried pieces of tape around your cube to get the candy corn look!
 |
| We ate candy corn while we made ours... |
That was way too easy...like what?
Alright freaks, get your DIY on and let us know how it goes!
X’s & O’s and remember to “keep it neat, FREAK!”
SOHO


.jpg)
.jpg)

.jpg)


